Invoice & Estimate with Alto is a powerful tool that helps entrepreneurs manage the invoicing process. It addresses the challenges that today’s users face by ensuring a secure and efficient exchange of documents with your business partners and clients.
Alto e-invoicing is user-friendly and combines many useful features with advanced functionality. In this series, we walk through the app and explain it.
- App Walkthrough Part 1: Clients
- App Walkthrough Part 2: Settings
- App Walkthrough Part 3: Invoices
- App Walkthrough Part 4: Projects
- App Walkthrough Part 5: Vendors & Expenses
- App Walkthrough Part 6: Estimates
- App Walkthrough Part 7: Reports
Vendors & Expenses
Cash flow is critical, whether you are a sole proprietor or part of a team. You need to keep an eye on your expenses every day to make sure money is coming in and going out correctly.
Let’s see how Invoice & Estimate with Alto makes it easy to track your expenses and bill them efficiently.
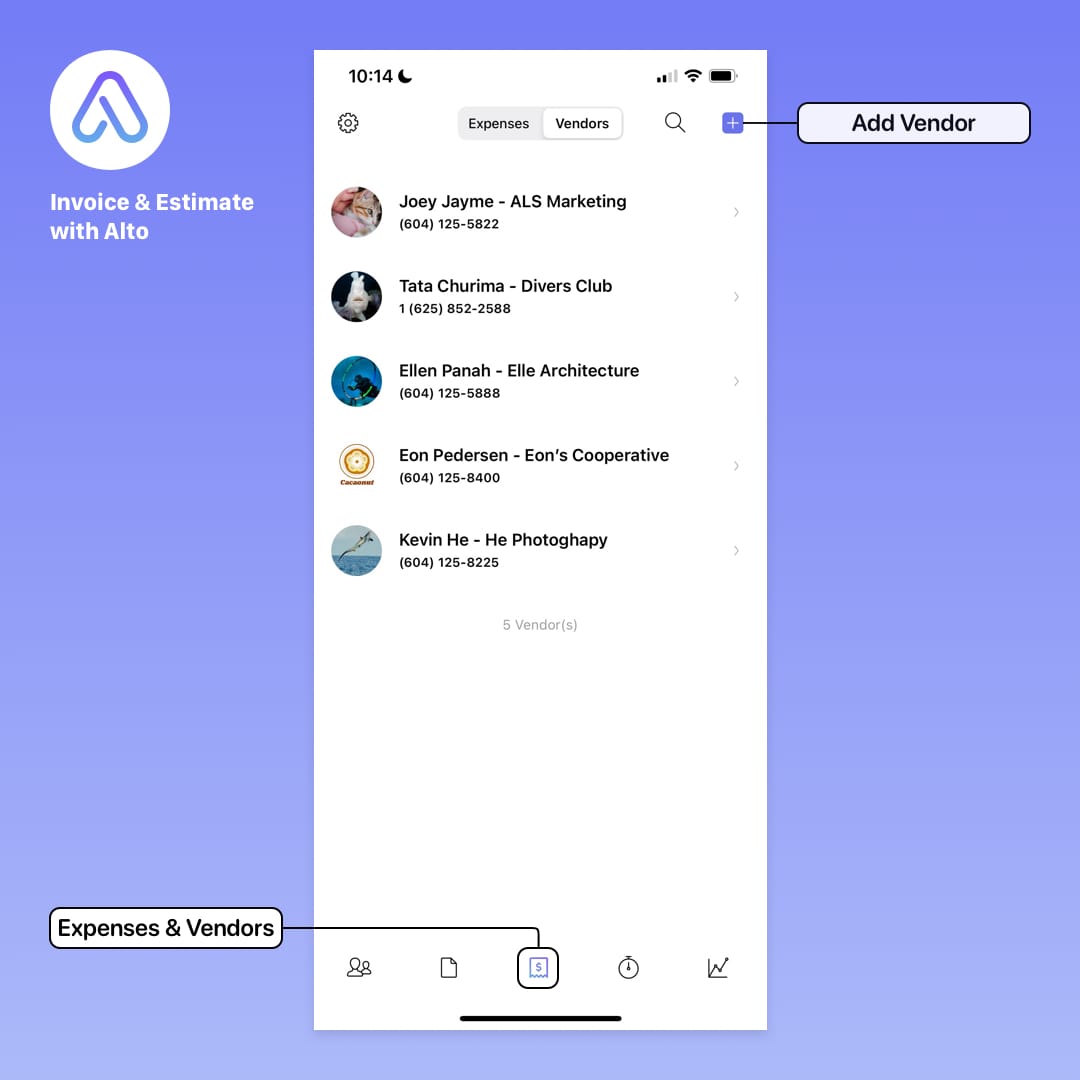
The third tab of the app displays Expenses and Vendors.
Expenses are the costs you incur while performing work for a client. Expenses are purchased from a vendor – a person or company that provides these goods or services – and then billed to the client.
But before we can add any expenses, we need to add the vendors we are paying or subcontracting.
Adding Vendors
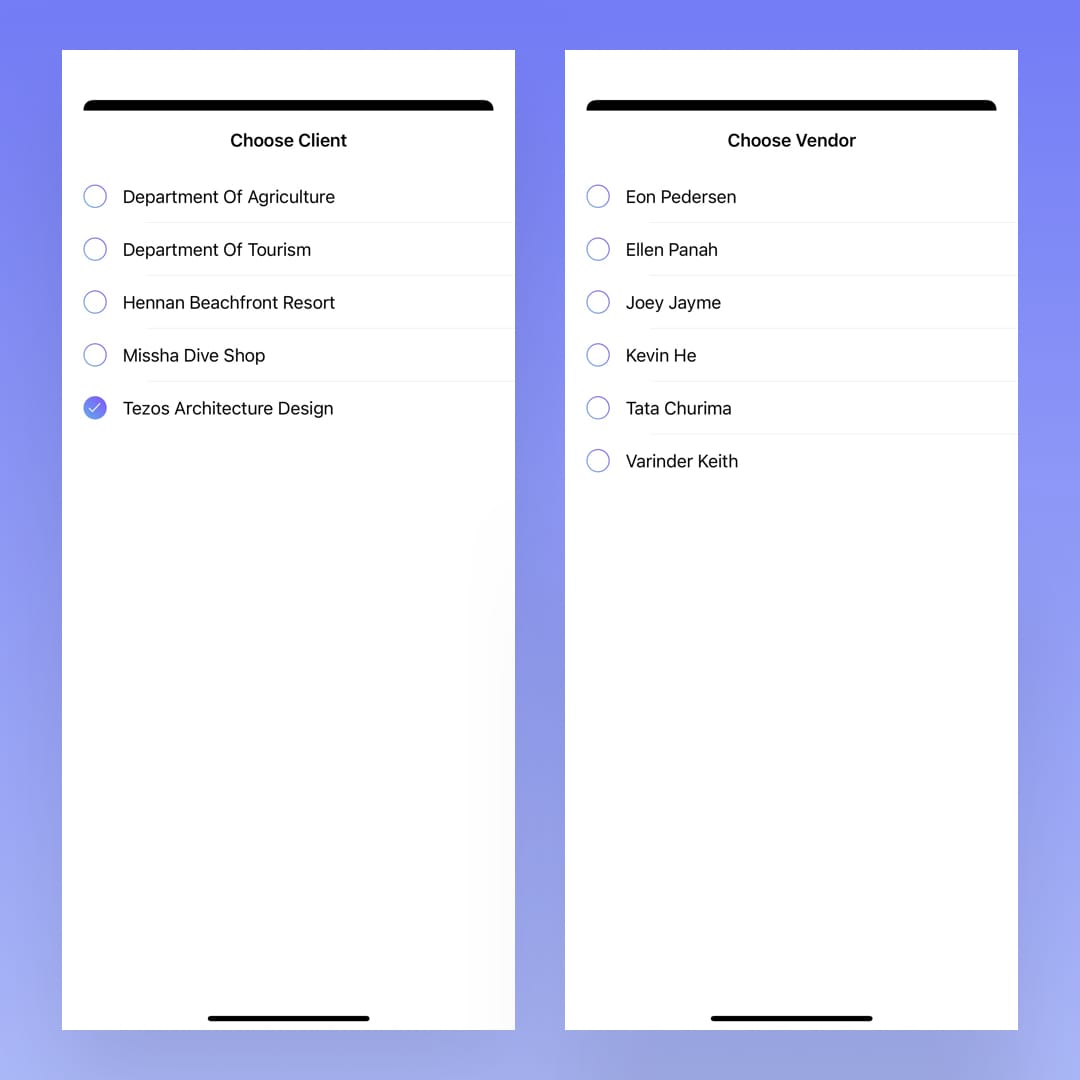
Tap the Vendors button at the top to see a list of current vendors.
To add a new vendor, tap the plus sign at the top right and the New Vendor screen will appear.
In the New Vendor pop-up, enter the vendor’s contact name (Keith Varinder), vendor name (3D Matterport), email, phone number, URL, and street address. Tap the camera icon to take a photo or add a photo from your library.
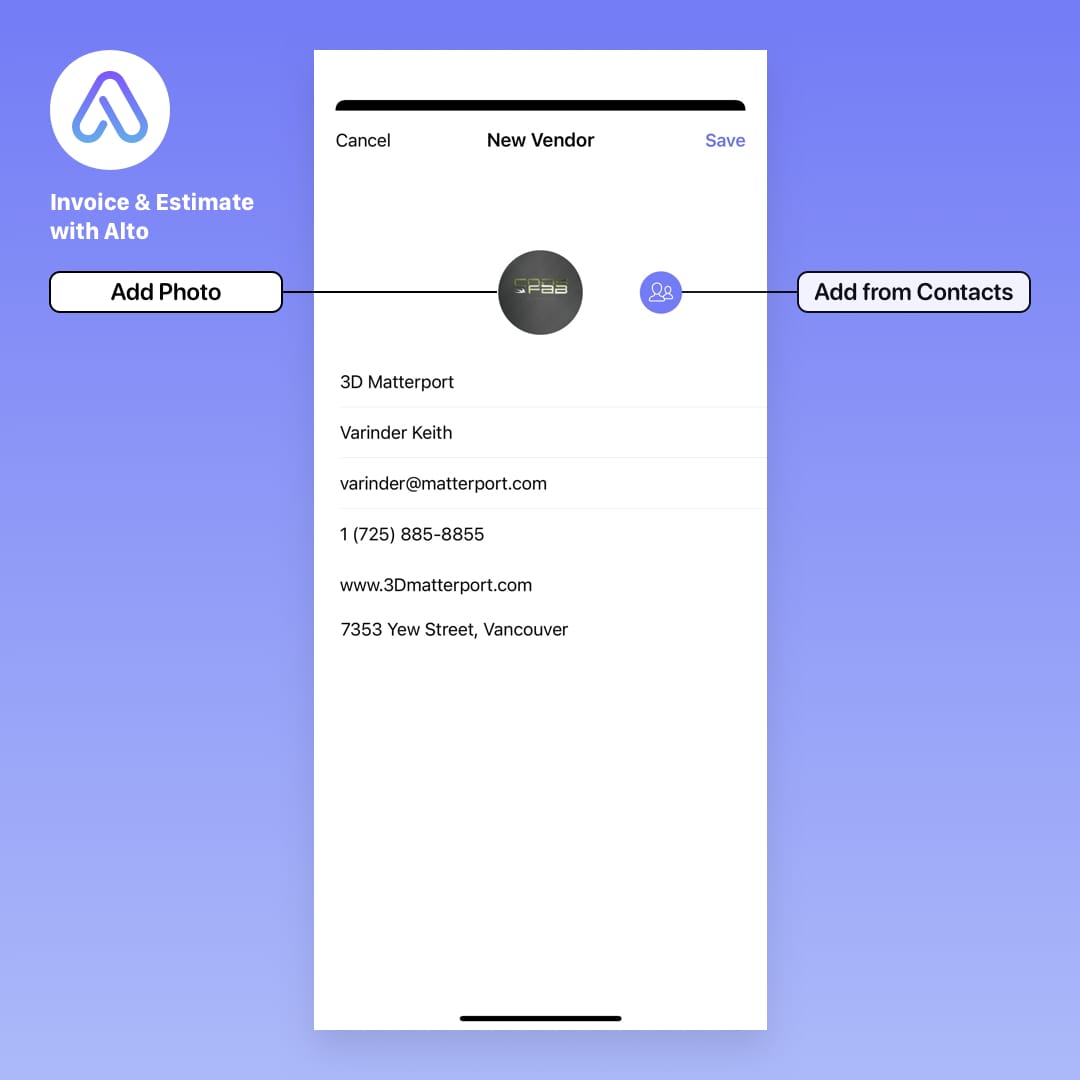
If the vendor is already listed in your phone’s Contacts, you can tap the Add From Contacts button to import their information.
Tap Save to add the vendor to your list. You can now reference them when adding expenses.
To edit a vendor’s information, tap the Edit button in the upper right corner.
Adding Expenses
Tap the Expenses button at the top to see a list of your current expenses.
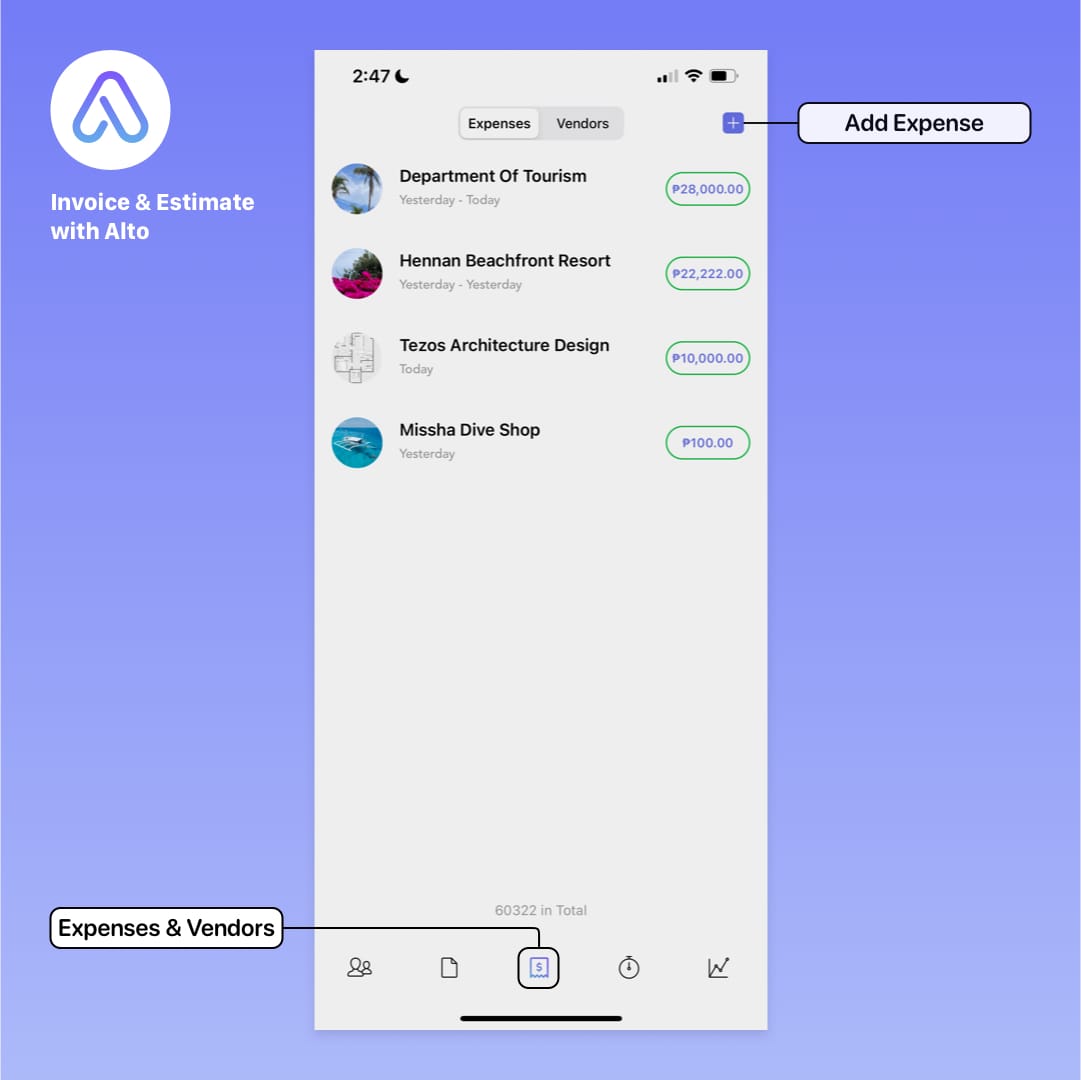
To add a new expense, tap the plus icon in the upper right corner to display the New Expense screen.
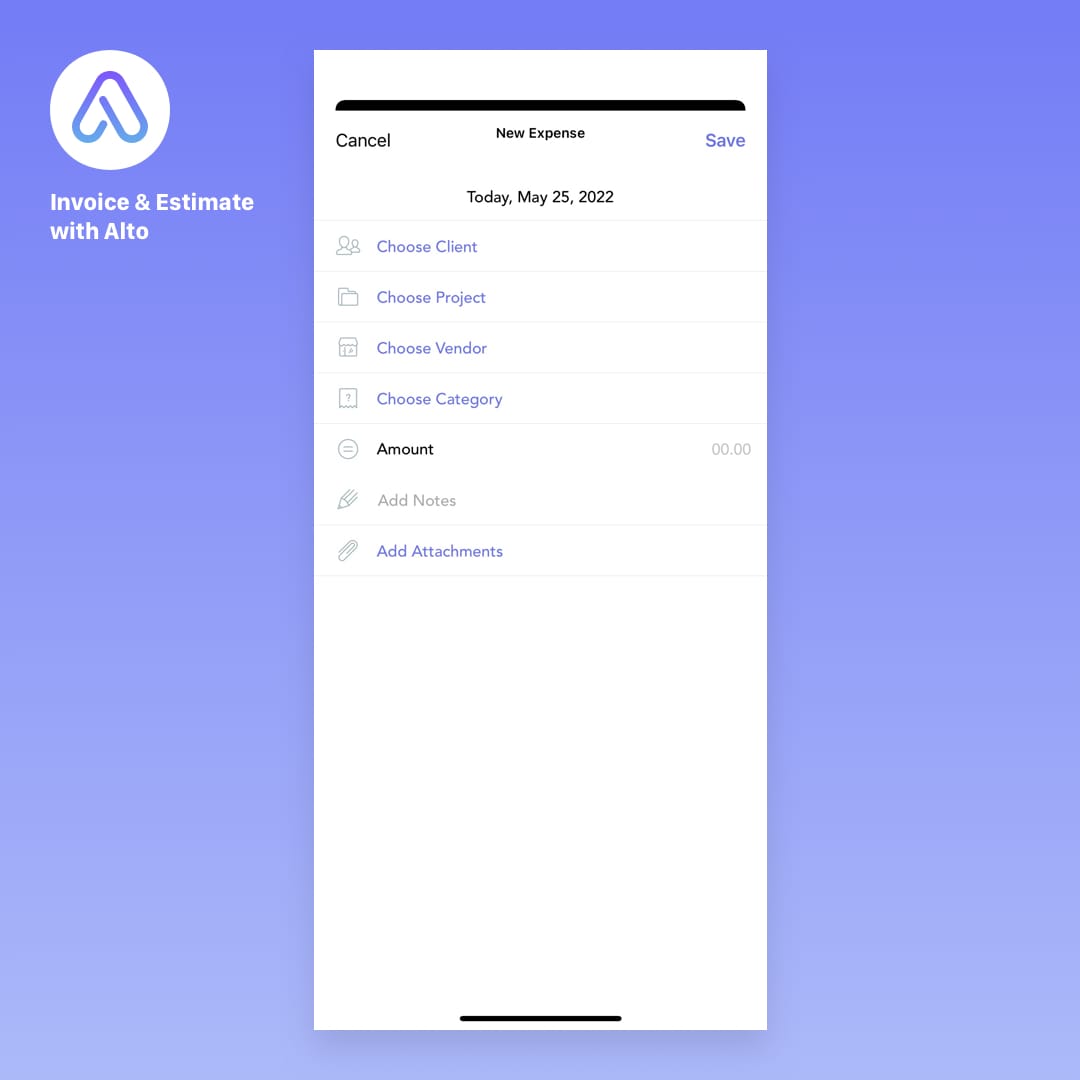
The current date is listed at the top. This cannot be edited.
In the New Expense popup, add the Client, Project, Vendor, and Category by selecting from lists of existing values. For example, if you are adding an expense from a new vendor, you must add the vendor before creating a new expense.
The Amount and Notes are added using the keyboard. Attachments can be added from Dropbox, Github, or your phone’s photo library.
Billing Expenses
To see a list of expenses for each client, tap the client’s name.
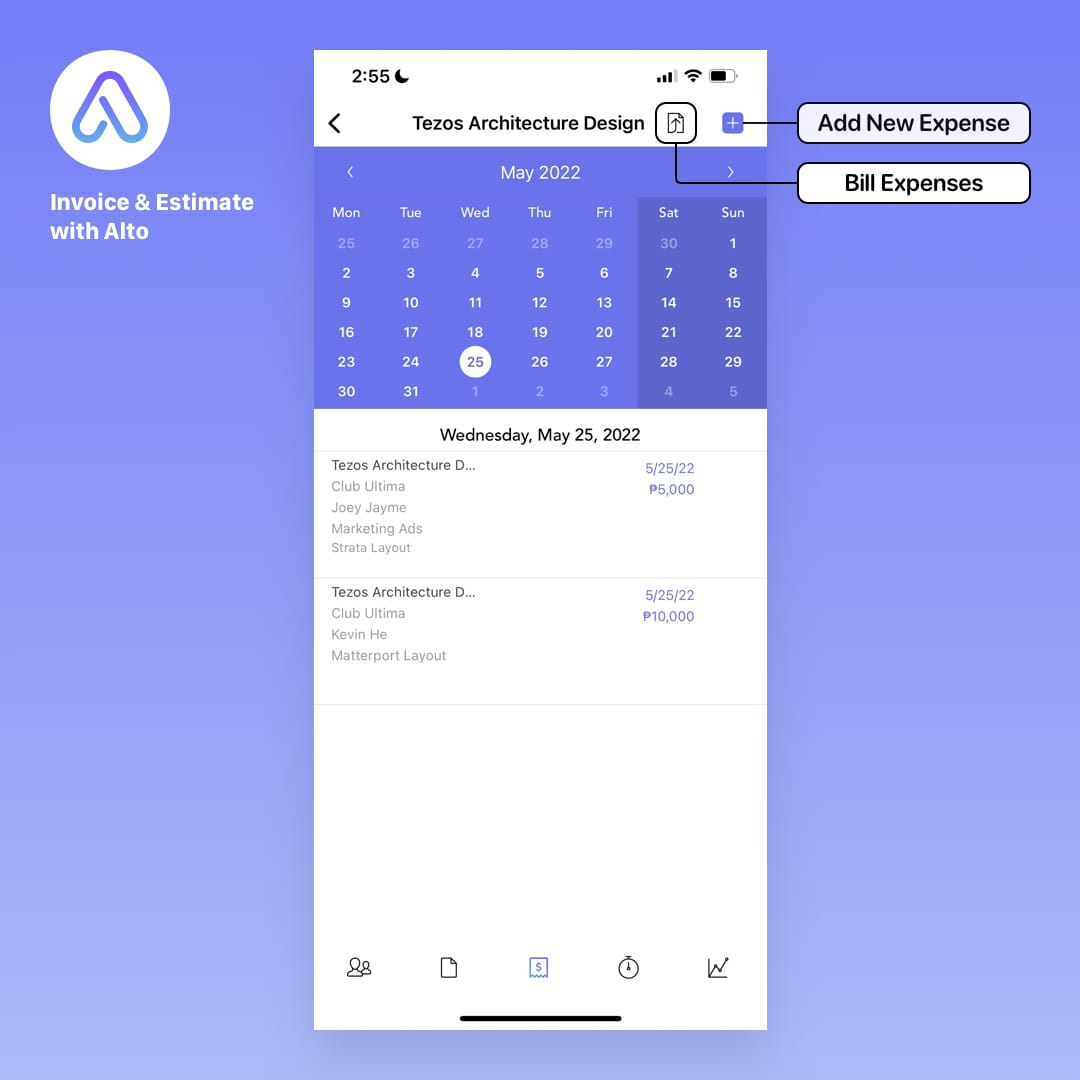
The Client Expenses Detail shows a calendar and a list of expenses for that month.
Tap on any date to see the expenses added that day. To scroll to a different month, tap the arrows to the left and right of the month name.
To add another expense, tap the plus sign in the upper right corner.
And when you’re ready to bill your client for the expenses on the list, tap the bill expenses icon next to the plus sign to open a New Invoice pop-up.
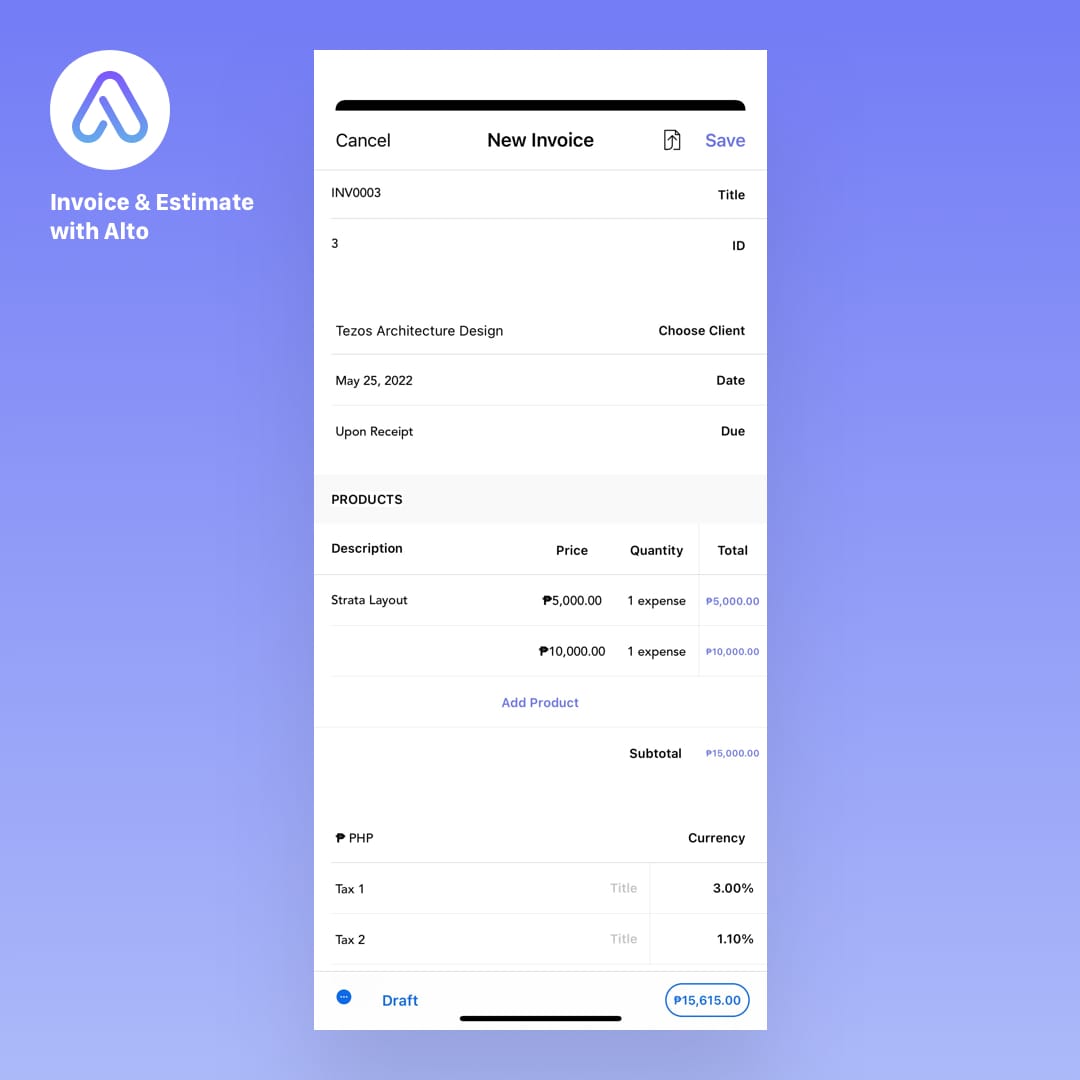
The unbilled expenses and client details are added automatically. If you need to change or update any of the information, simply tap and type in a field .
Tap Save, and the invoice will be added on your Invoices tab.
Expense Reports
Invoice & Estimate with Alto generates reports on a all aspects of your business. For example, tap the calculator icon in the Charts tab to see a graph of your total expenses by day, week, or month, as well as your most active customers and how much they spend each month.
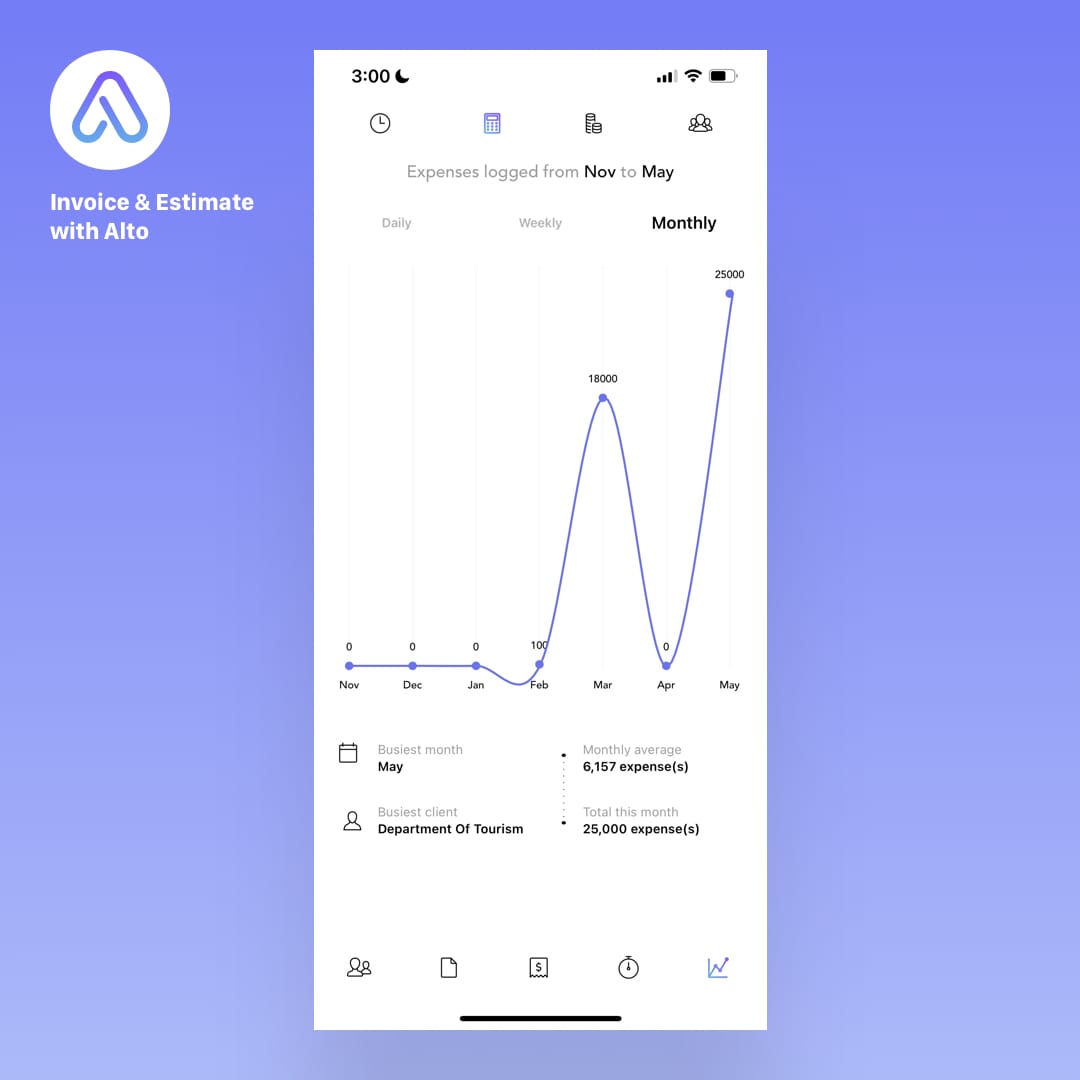
In an upcoming article, we’ll show you how to use the application’s powerful charts to review your progress week by week or year by year.
Next: Estimates
Invoice & Estimate with Alto was built for freelancers, consultants, and small businesses by a team of freelancer and small business founders.
Create your free account today and find out why more than 30,000 freelancers and small business owners love Invoice & Estimate with Alto.


